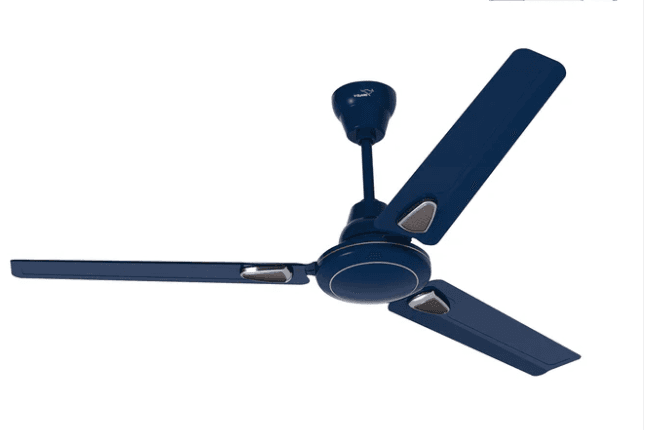
How to Safely Install a Ceiling Fan
Introduction
Installing a ceiling fan can improve air circulation and add style to your room. This guide will walk you through the process. Safety first! Always turn off the power at the circuit breaker before working on electrical wiring.
Tools Needed
- Screwdriver set
- Wire strippers
- Pliers
- Ladder
- Voltage tester
- Ceiling fan mounting kit (usually included with fan)
Steps
- Turn Off Power: Locate the circuit breaker controlling the room's power and switch it off. Use a voltage tester to confirm there's no power to the existing fixture or wiring.
- Remove Old Fixture: If replacing an old fan or light, carefully remove it. Disconnect the wires.
- Install Mounting Bracket: Secure the fan's mounting bracket to the electrical box in the ceiling. Ensure the box is rated to support the weight of a ceiling fan.
- Assemble Fan: Follow the manufacturer's instructions to assemble the fan motor, blades, and light kit (if applicable).
- Wire the Fan: Connect the fan's wires to the house wiring according to the color codes (usually black to black, white to white, green/bare copper to green/bare copper). Use wire nuts to secure connections.
- Attach Fan to Bracket: Lift the fan assembly and attach it to the mounting bracket.
- Install Canopy: Slide the canopy up to cover the wiring and bracket, then secure it.
- Install Blades and Lights: Attach the fan blades and any light fixtures.
- Test: Turn the power back on at the circuit breaker. Test the fan and light operations using the pull chains, remote, or wall switch.
Troubleshooting
- Fan wobbles: Ensure blades are balanced and screws are tight.
- Fan doesn't work: Double-check wiring connections and ensure power is on.
Disclaimer: This is a general guide. Always refer to your fan manufacturer's specific instructions and local electrical codes. If unsure, consult a qualified electrician.